
The System Menu offers selections related to the instrument and connectivity to other instruments. You can access it from the multi-touch display. Choices are described below:
Multi-Touch Display Access
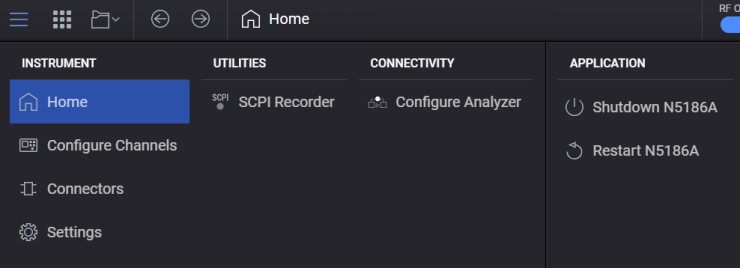
For N5186A
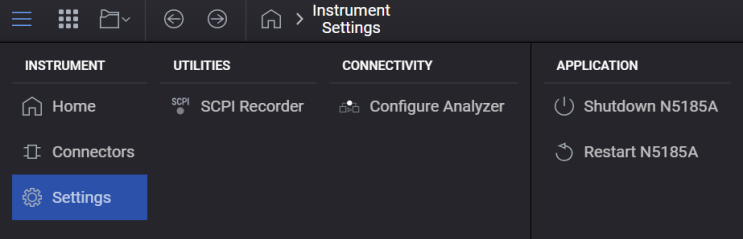
For N5185A
Configure Channels (Applies to N5186A only)
Returns you to the work-flow based block diagram for configuring the generation of signals. Work-flow begins with Signal configuration of the instrument’s baseband on the left, proceeds to Adjustments of the signal, next Output Modulation is applied, followed by the RF Output settings.
Applies to N5186A only.
For instruments with more than one channel, opens the Configure Channels dialog where you can select from Independent or Tx Coherent depending on your measurement use case.
Opens the Connectors screen where you can configure the instrument's physical connectors, such as Trigger Input, Trigger Output, and LF Out Connectors.
Opens the Instrument Settings screen.
Displays the utilities available for the instrument. Currently, the SCPI Recorder utility is available.
The State column lists Recall and Save As options for managing system configurations.
Opens the Configure Analyzer screen where you can perform generation-to-analysis workflow.
Visible only when accessing the instrument remotely via a Web browser. This option in the System menu returns to the Web UI Home page. See Remote Access via Web Browser to know more.
Reboots the
The
|
SCPI Command |
:SERVice:HPUP |
| Description | Triggers a complete power cycle of the instrument. It is equivalent to turning the instrument off and back on again. This is used when a full hardware and software reset is needed, such as after firmware updates. |
|
SCPI Command |
:SERVice:PUP |
| Description | Restarts the instrument while it is still powered on. It is equivalent to a soft reset without fully powering down the instrument. It is typically used to recover from minor software issues or to apply certain configuration changes without a full shutdown. |